Event Ticketing Made Easy
As well as managing the event entries and ticket ordering process for your events, optionally we can also generate and issue uniquely encoded event tickets and email to people as they submit their online applications. Then on the day of your event you can control access to the event using our App to scan and validate all tickets on entry.
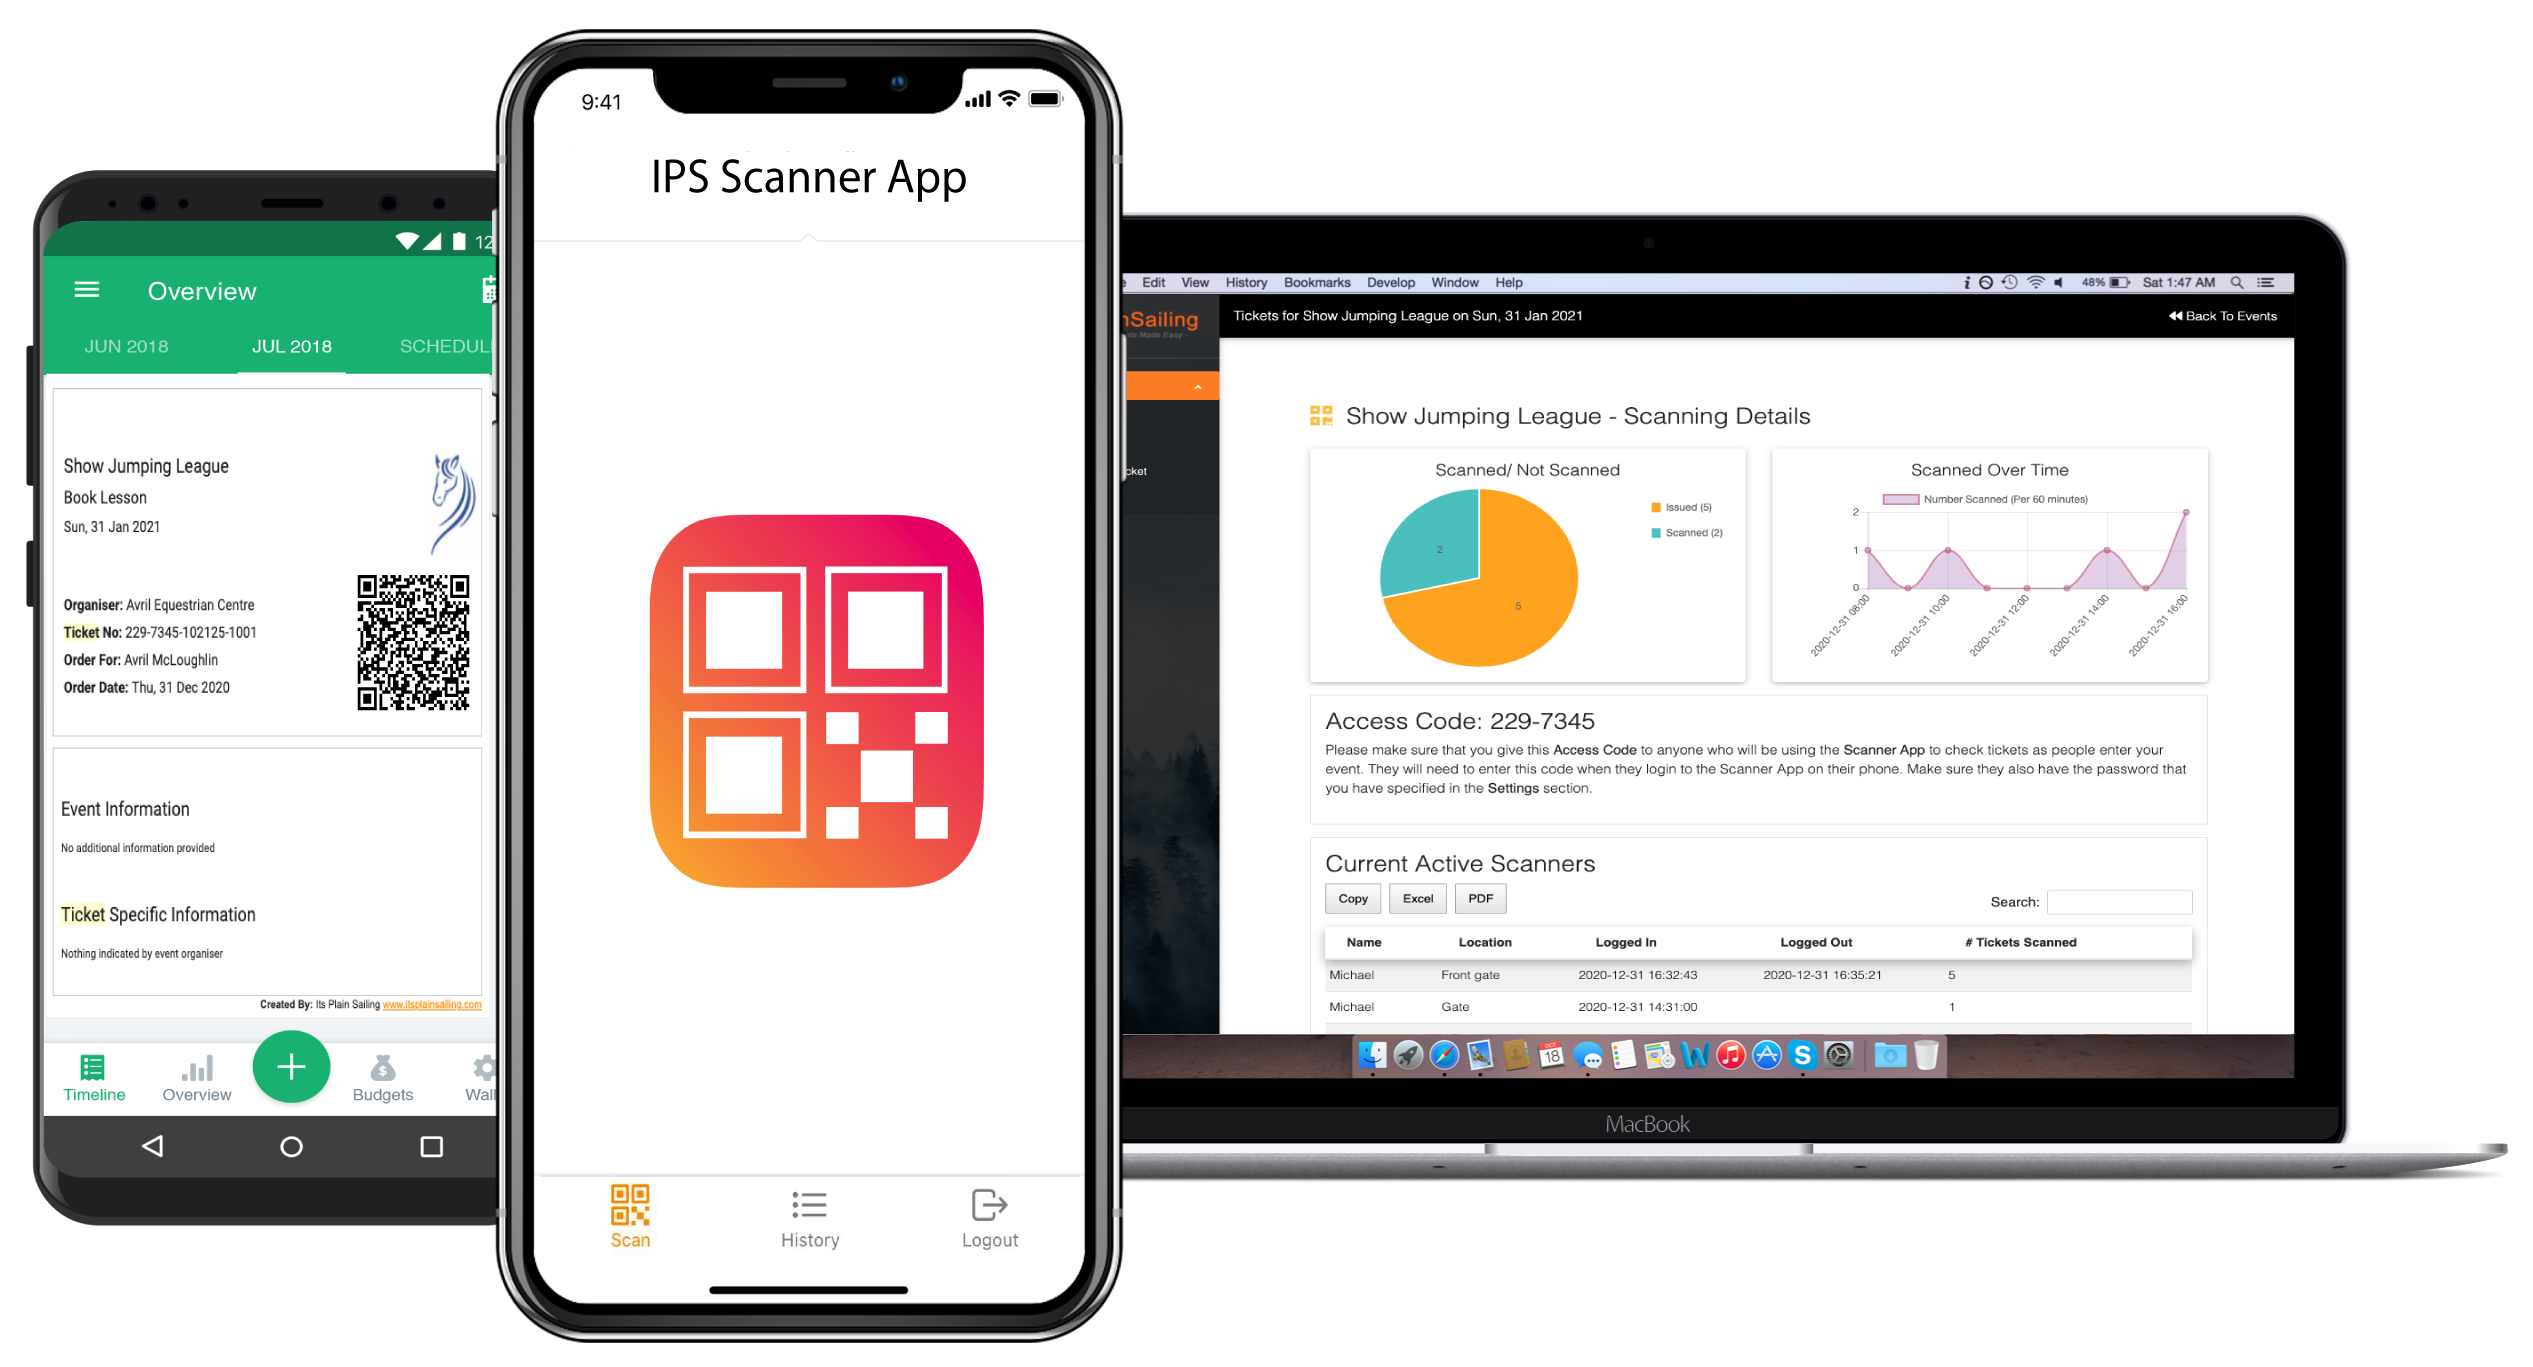
Downloading the App
The IPS Scan App is available for iPhone and you can download it from the Apple App Store.
iPhone
For iPhone go to the App Store, and search for the app with the name Ips Scan App.

Using the App
The steps involved in using the App are relatively straightforward. You login into the App using the Access Code for the event, and the password if one is set. You enter your name, and your location at the event, and then you simply scan and approve the tickets as people present them to you at the event.
Logging In To App
When you first launch the app you will be presented with the screen below where you will be prompted to enter the Access Code for the event that you wish to scan the tickets. Note: The event organiser must tell you the Access Code in advance. The access code is divided into two parts, enter the first part in the box on the left, and the second part in the box on the right. If the event organiser has added a password to the event, then you will be prompted to enter it.
The last step in logging in is to provide your name and location, e.g, if there are multiple entry points to your event, then just type the name of the entry point you are located at and where you will be scanning tickets from, e.g. front gate, back gate etc.
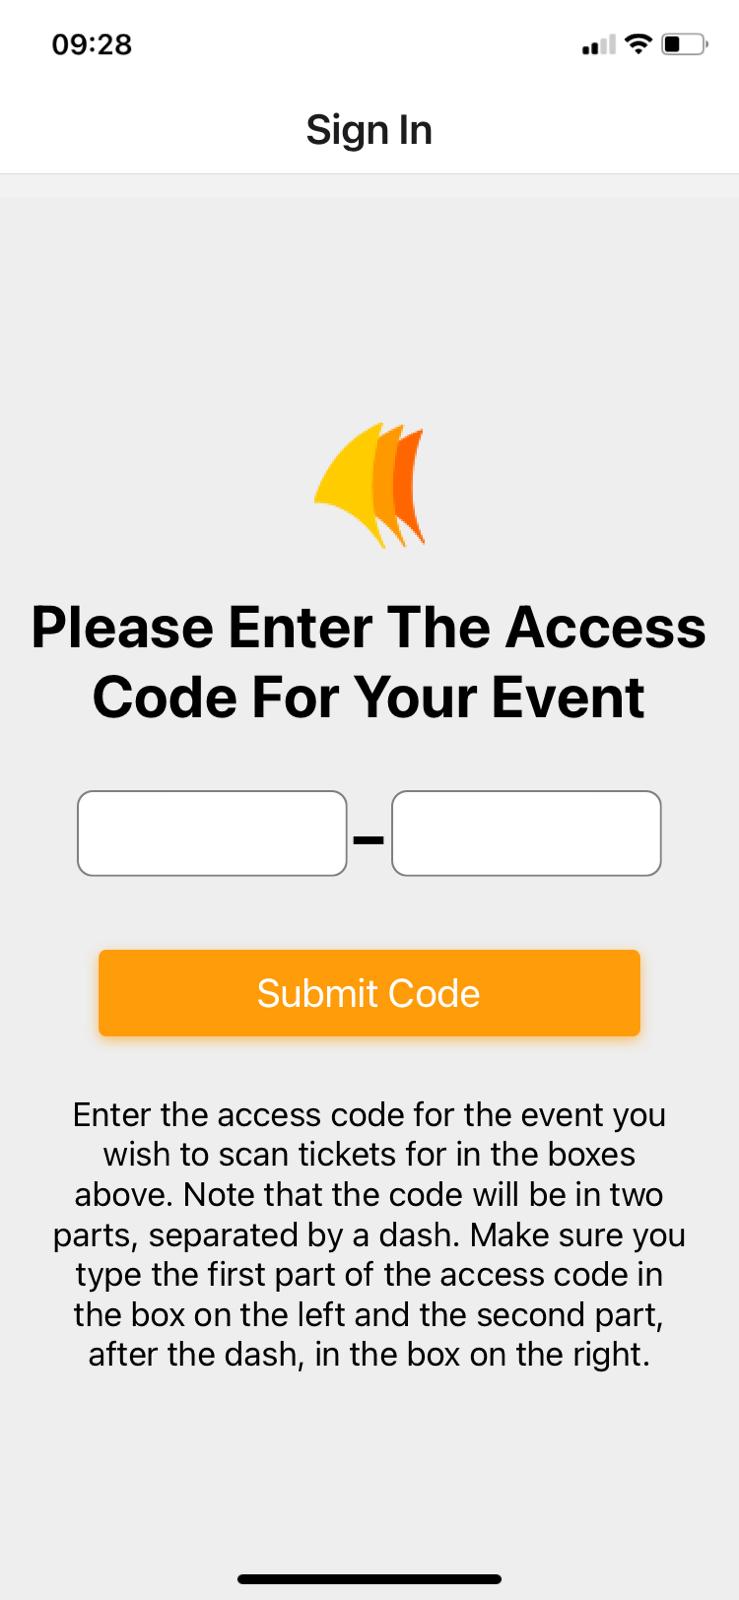
Entering the Access Code for the Event
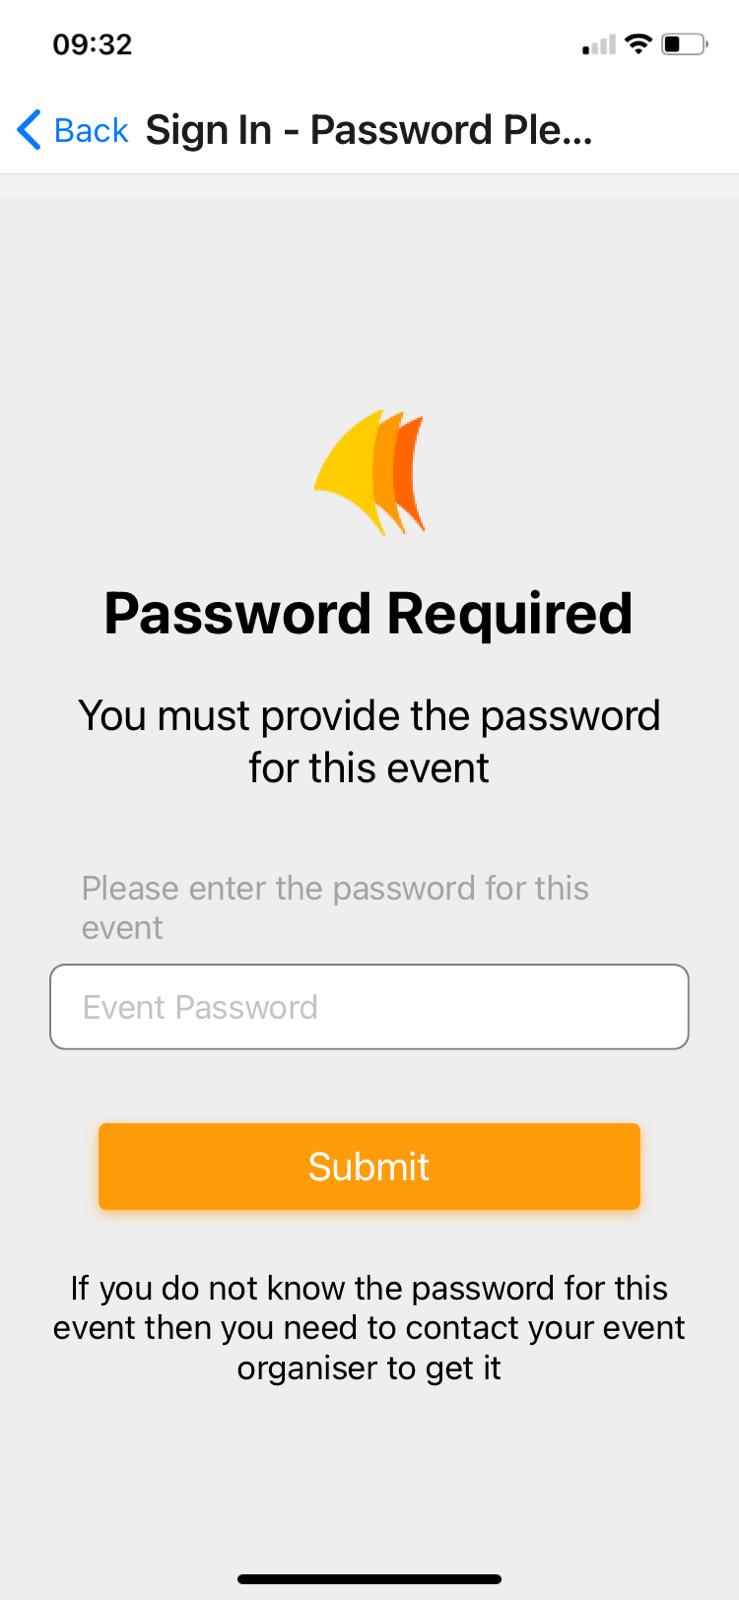
Entering Password If Required
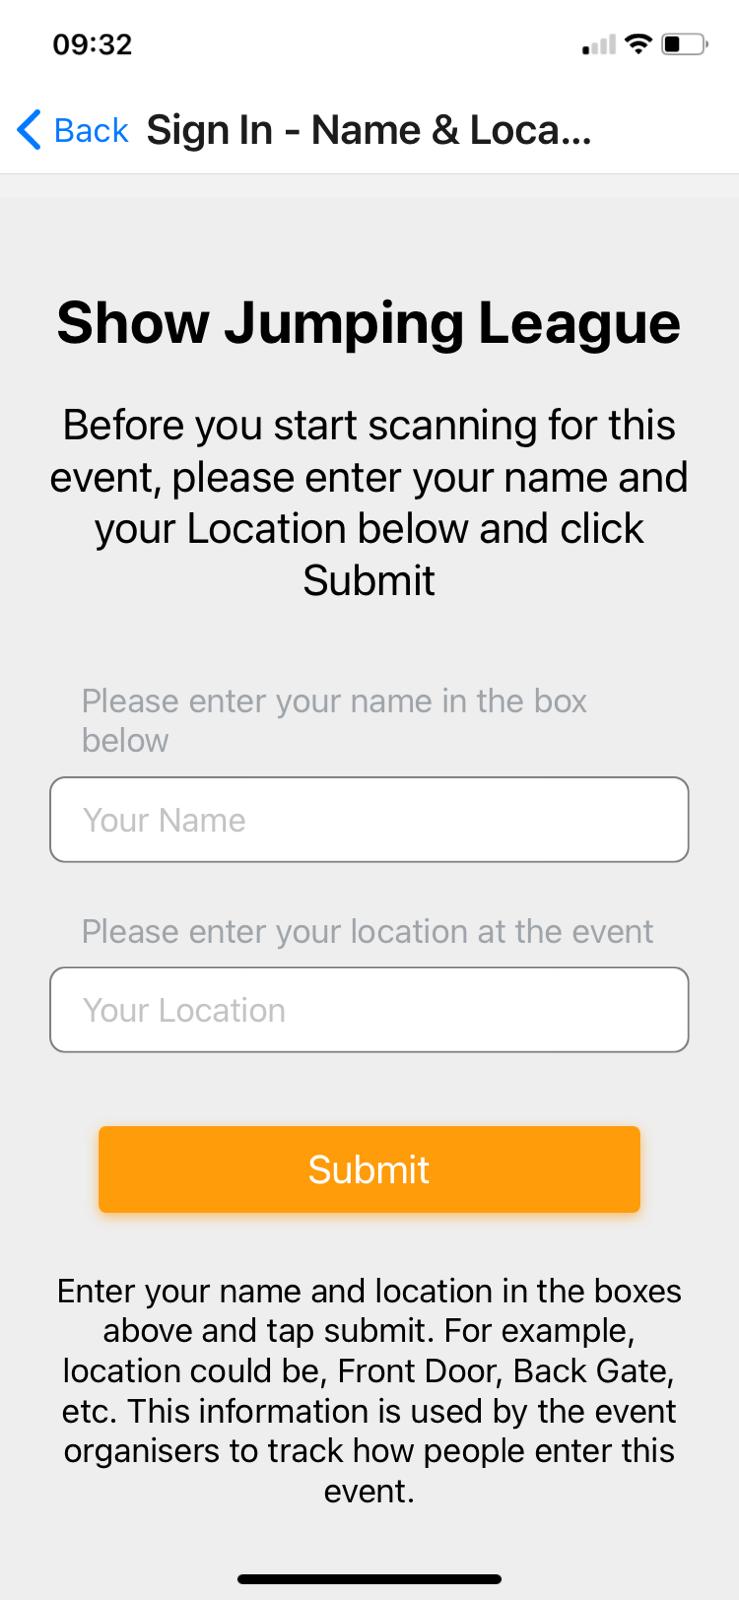
Entering Your Name and Location
Scanning Tickets
Once logged in you will be presented with the screen below. To scan a ticket, you tap the orange Tap To Scan Ticket button which will bring you to the Scan Ticket screen, also shown below.
Note: when you launch the App for the first time you will be asked to allow the App to use your phone Camera. You must allow this access, otherwise the App will not be able to function properly and cannot be used to Scan tickets.

Click the "Tap To Scan Screen" button to scan a ticket
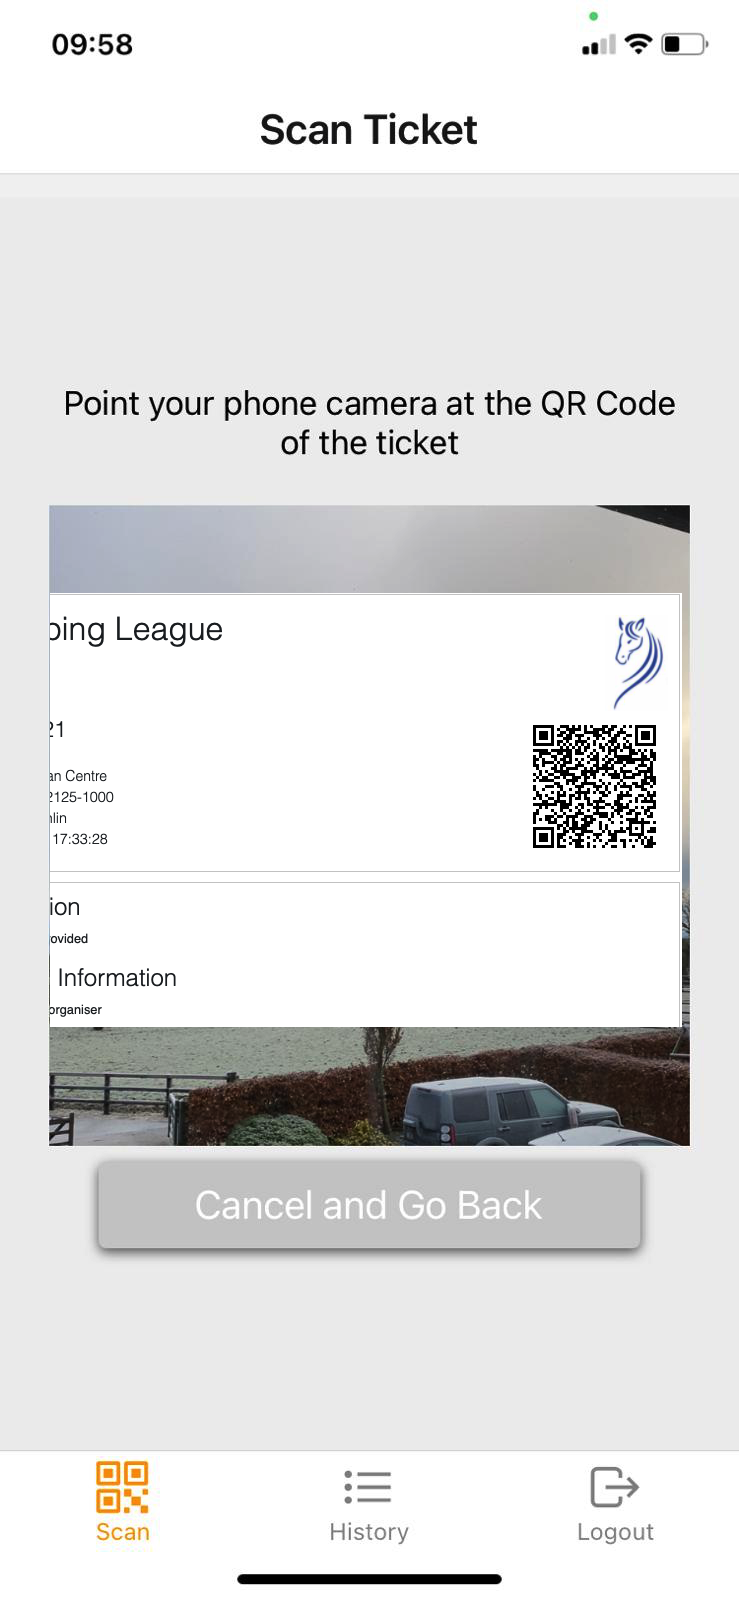
Point the Camera at the QR Code on the persons Ticket

The App will read the QR code, and validate it. Assuming it is a valid ticket then you can check the ticket details, and then tap the "Confirm Ticket Scan" button to complete the process.
Note 1 - you must click the "Confirm Ticket Scan" button, if you do not then the Ticket will not be marked as scanned.
Note 2 - if the ticket is invalid, or if the ticket has already been used/ scanned, then an error message will be displayed, see example screen below, where the history of the ticket is displayed showing where and when the ticket has already been used.
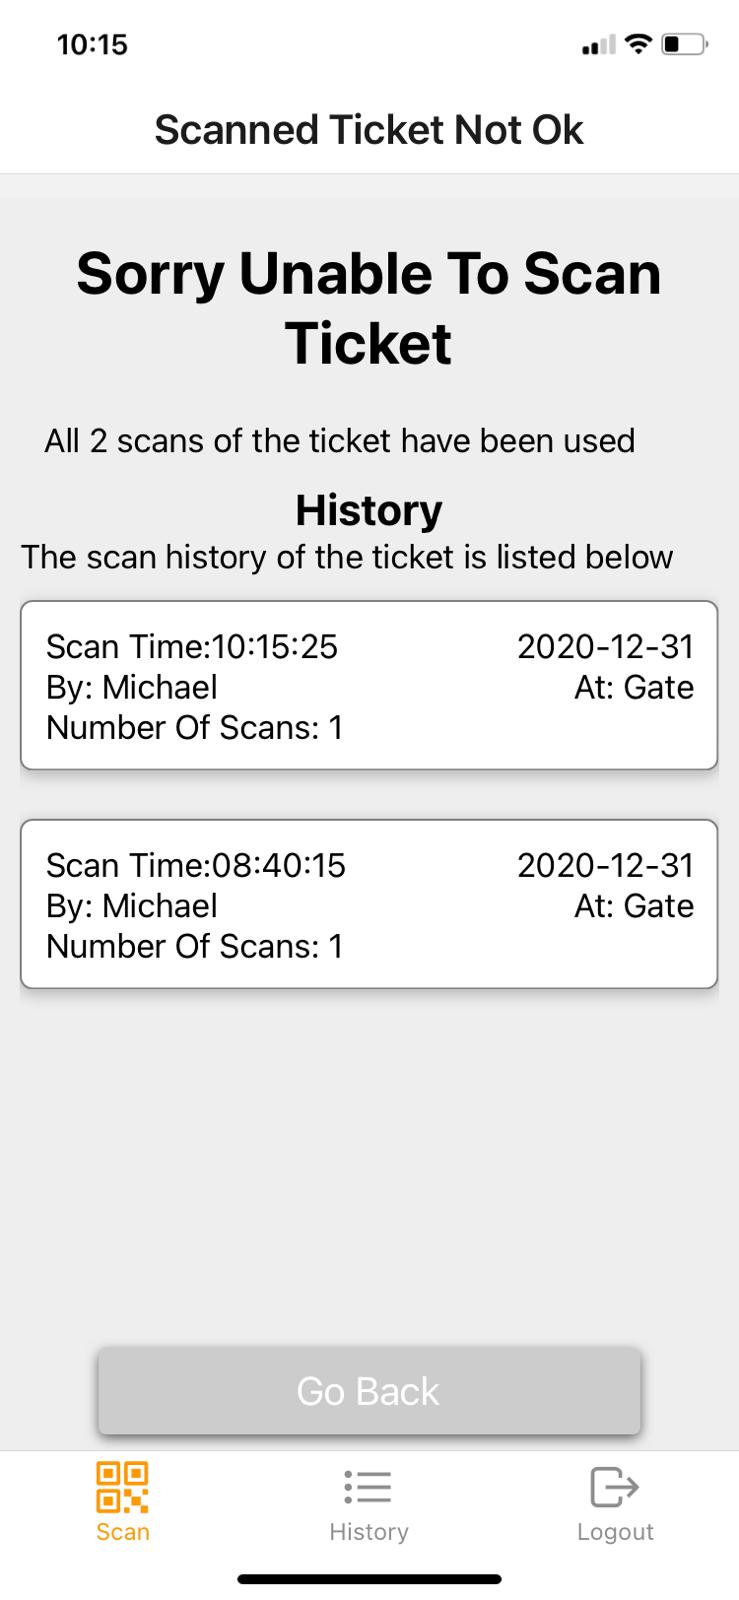
Ticket Already Used
Note 3 - in the example screenshot above, the ticket in question was set up such that it could be used twice.
Multi Scan Tickets
The default behaviour is that once a ticket is scanned at an event, then it cannot be rescanned (i.e. used a second time). However it is also possible to set up your event and allow specific ticket types to be scanned multiple times.
For multi-use tickets, when they are scanned on the App, you are presented with the option to indicate how many scans you would like to record against the ticket at that point in time. For example, if a Ticket Type supports up to 5 scans, and two people are being scanned in with the ticket at a specific point in time, then you would set number of Scans to 2, and then click the Confirm Ticket Scan button.
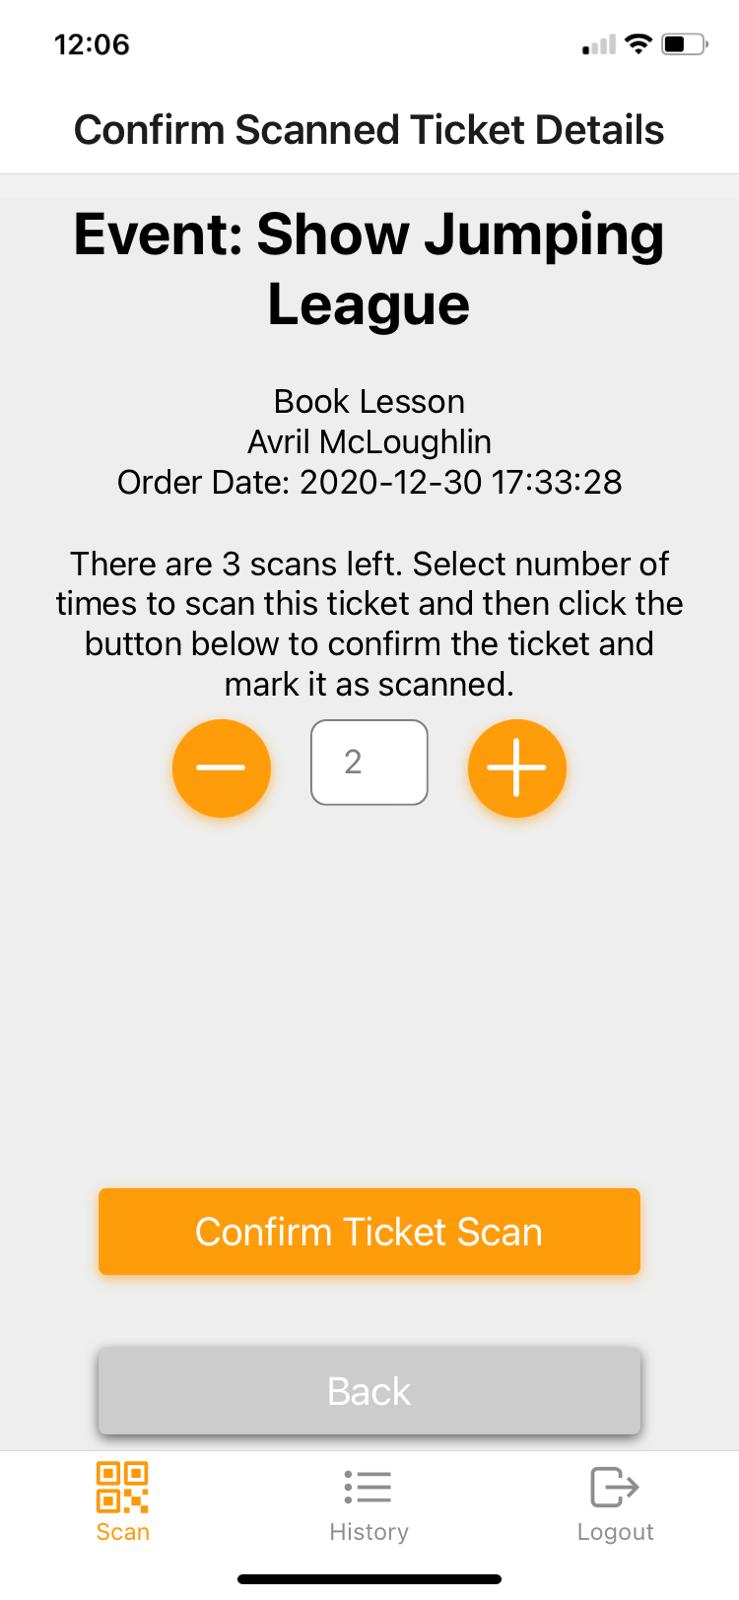
Multiple Scans of a Ticket
Note: - a ticket can be used as many times as possible until the Number of Times a Ticket Can Be Used setting for that Ticket type is reached, at which point the ticket will be marked as invalid.
Google Play and the Google Play logo are trademarks of Google LLC.